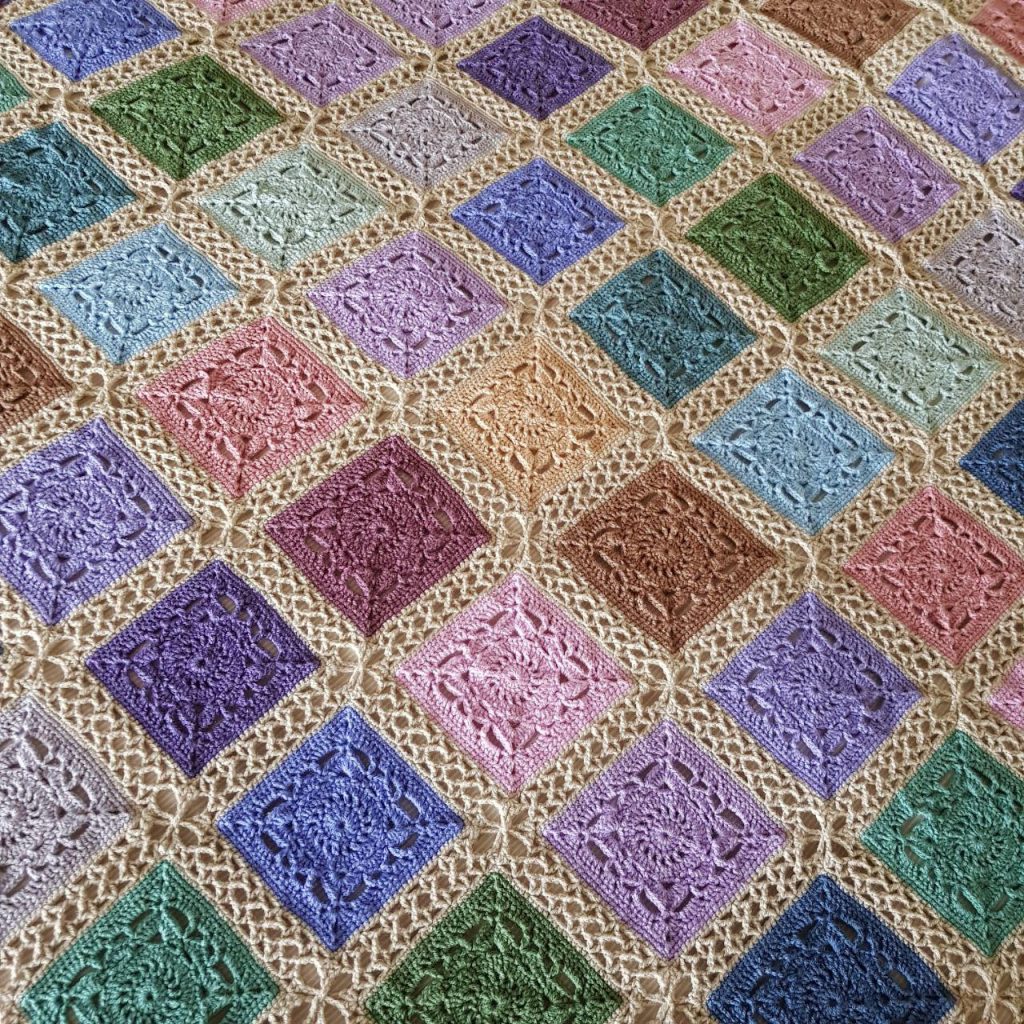
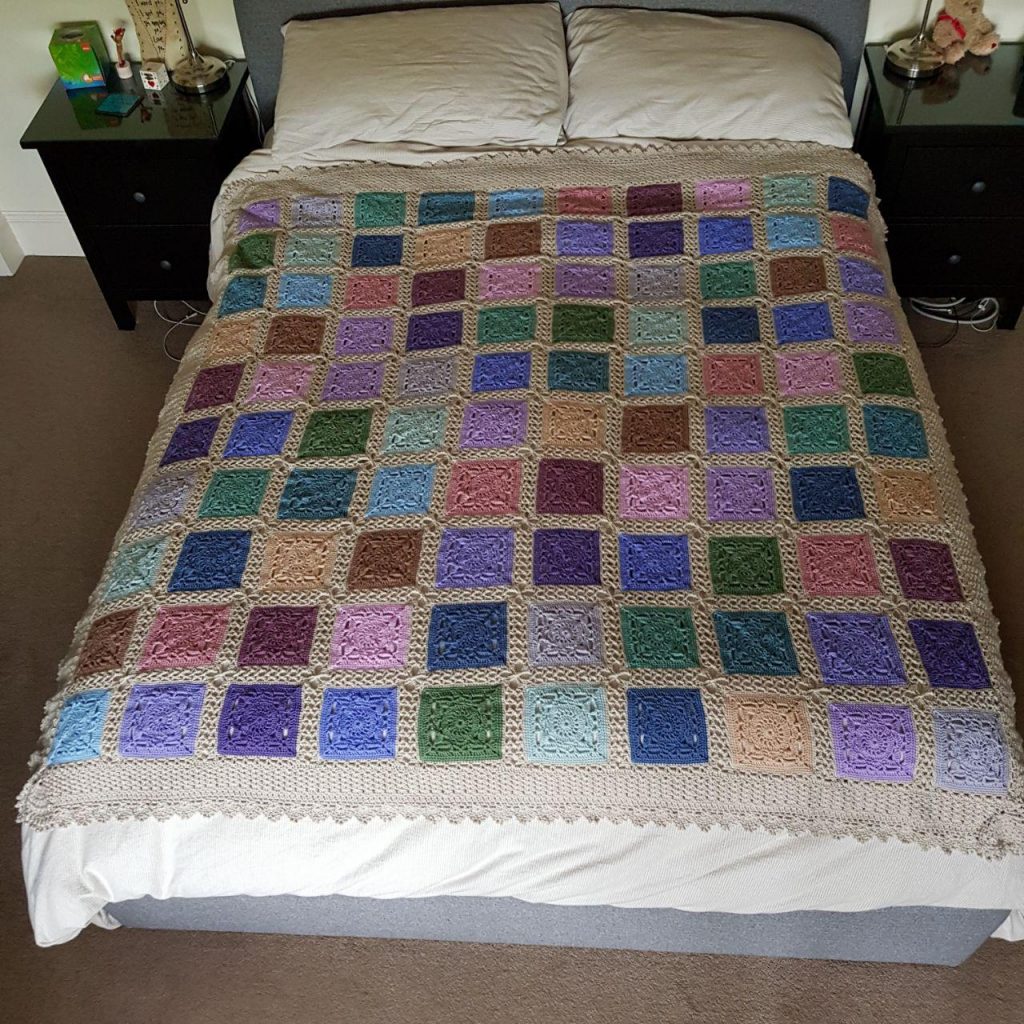
Howdy everyone!!! I’m super excited to be writing this blog post…because it means I’ve finished another project: the Willow Square Blanket. This is an anniversary gift for a very special couple…my Aunt & Uncle or ‘Mom’ & ‘Dad’ as I now call them. As an added bonus, it has shipped in time to make it there before the big day!
It started in September 2016 as an idea inspired by the fabulous Lucy of Attic24 . Lucy designed the Cupcake and Cosy Stripe blankets, both use 15 different colours. I asked Mom to choose from the Stylecraft Special DK palette on Wool Warehouse’s website, 16 colours – because I remembered the wrong number of colours Lucy used – oops! Didn’t Mom do good with her choices?
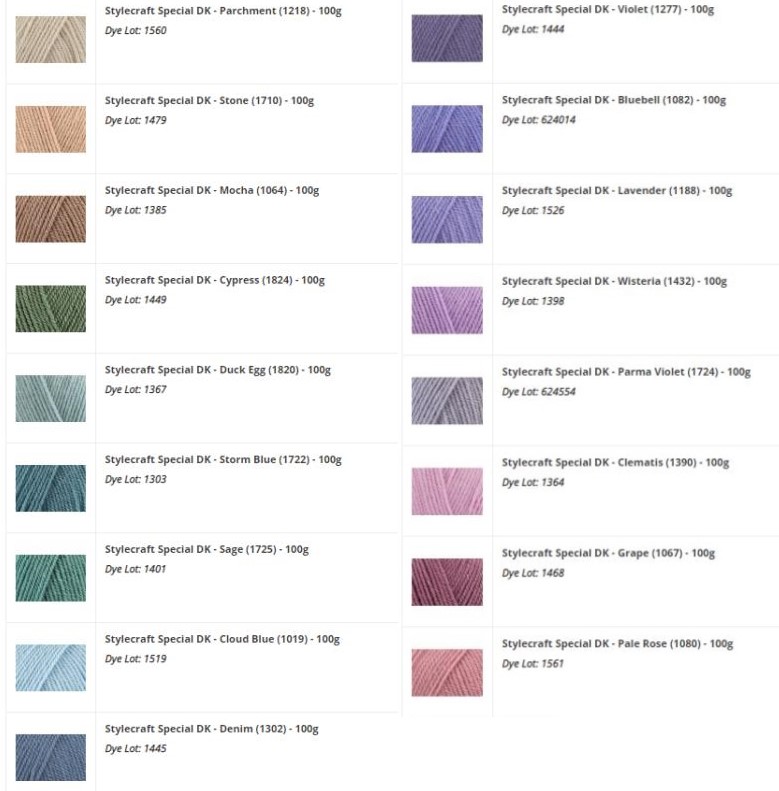
I then asked Mom to choose between a stripy blanket, or a patchwork blanket. For the patchwork blanket, I pointed her to The Patchwork Heart for examples. Heather crocheted beautiful blankets using the Willow and Wisteria squares from Jan Eaton’s 200 crochet blocks book. The winner for Mom: the Willow Square. We chose Parchment, for the joining and border colour. It is perfect for a vintage vibe.
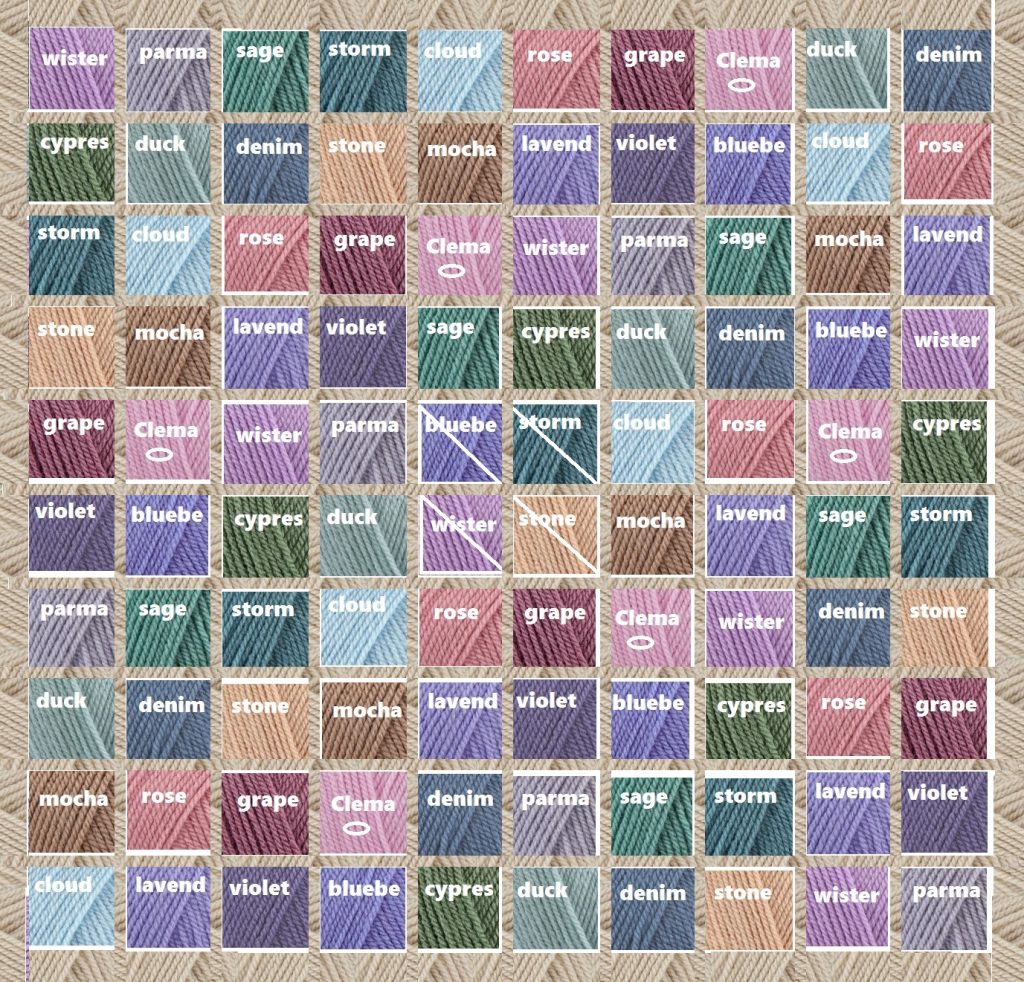
Using Microsoft Paint, I created a colour pattern chart by copying and pasting swatches from the Stylecraft Special DK page on Wool Warehouse’s website. This served several purposes: it gave Mom some idea of how the blanket would look, helped me work out at a glance how many squares in each colour to crochet and provided a layout to follow when it came time to join the squares.
To be sure I would have all the yarn I needed, naturally I purchased it straight away. It sat in my stash for the next 28 months. Yes, you read that correctly….twenty-eight months. I had a number of other projects with due dates that seemed to push this one further and further down the queue.
Fast forward to 4 January 2019 – and I finally commit to making the blanket by a deadline. I’d made Mom and Dad two other blankets in summer 2017 – and I had the yarn for those for about 2 years – so this was par for the course. Mom and Dad’s 53rd wedding anniversary is in June – seemed a rather perfect gift so the delay was obviously meant to be!
When I at last started, I got such a buzz out of showing Mom the first squares in each colour during one of our weekly Skype chats.
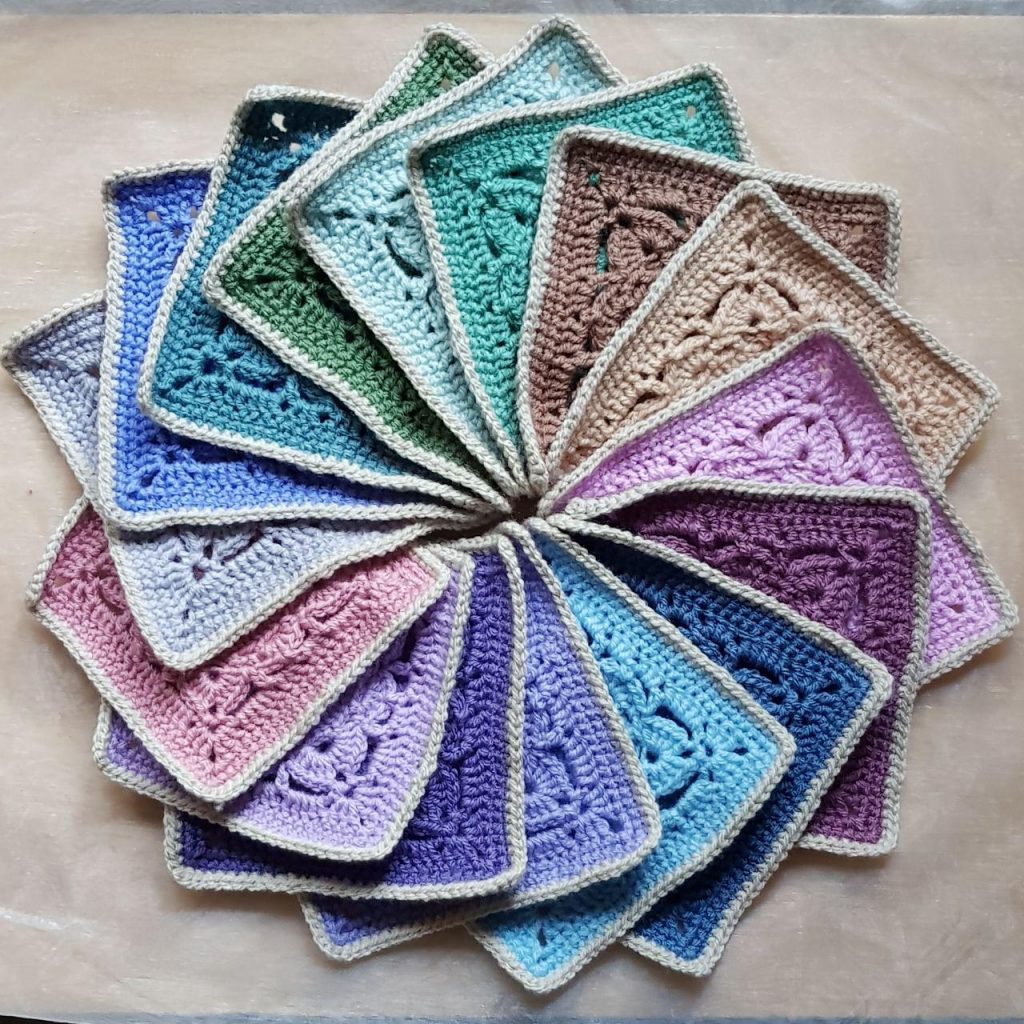
One of my greatest challenges with this project was, as always is the case with anything I crochet, maintaining consistent tension.
In this image, the squares look perfectly matched in size, don’t they?
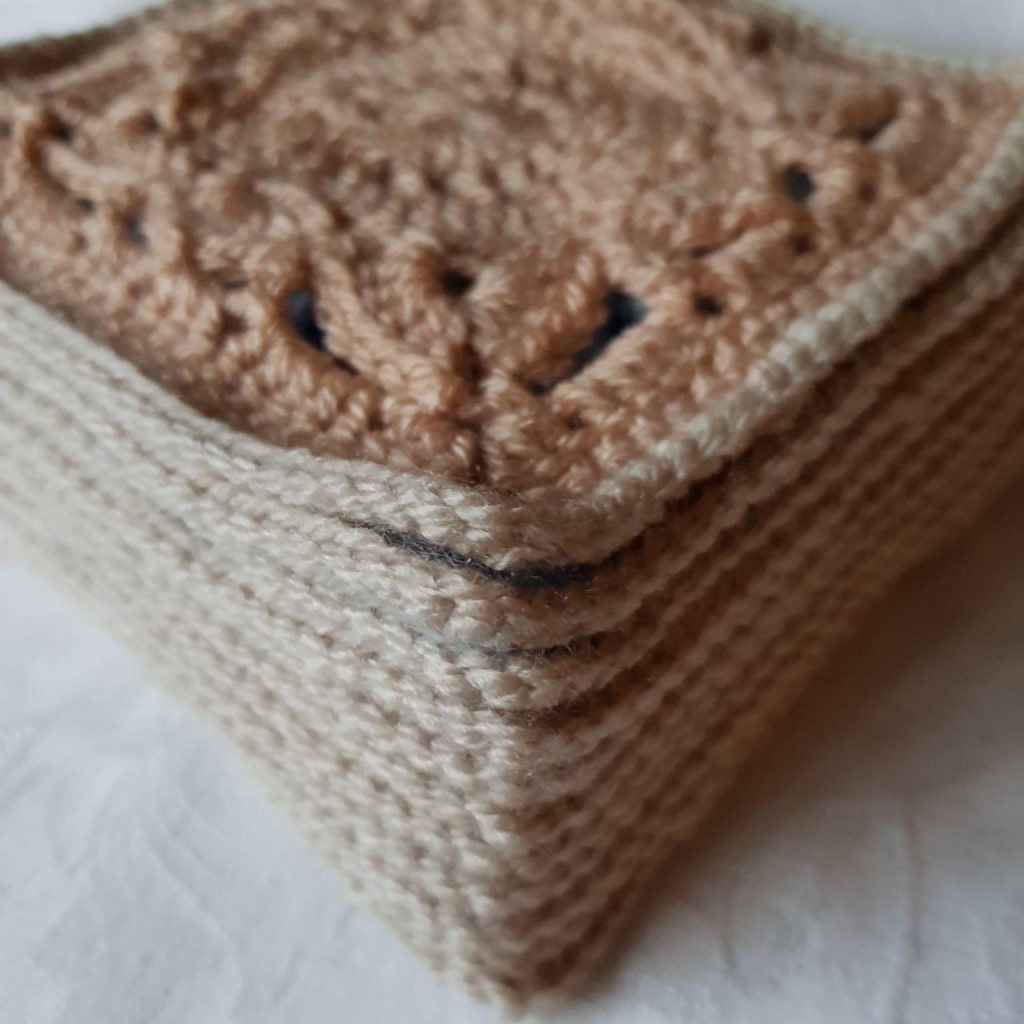
The above image couldn’t be further from the truth. This next image is the real deal…
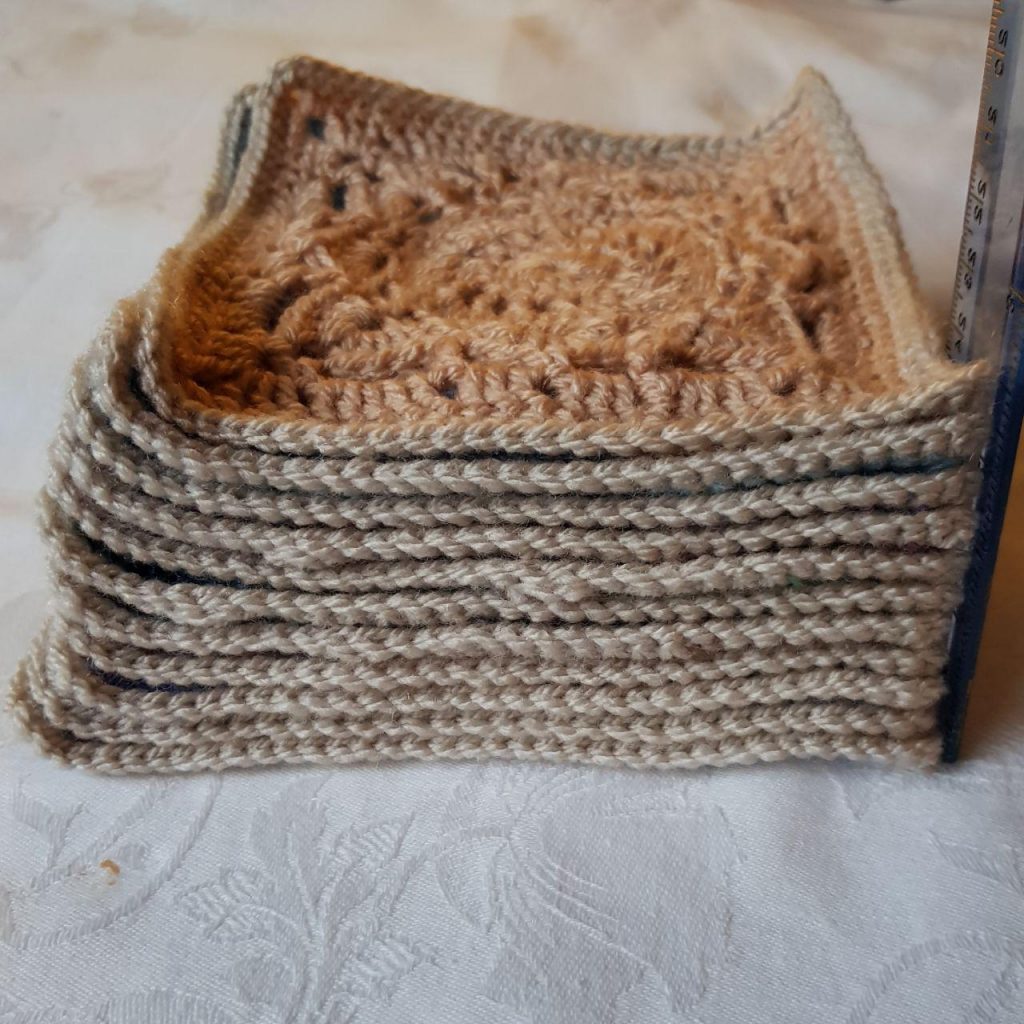
In the end, I frogged 22 squares – even after redoing them, the squares still were not perfectly sized but they were a heck of a lot closer being the odd couple of millimetres out instead of several. The yarn strand thickness seemed to vary between colours which added to the challenge of trying to make all 100 squares identical in size.
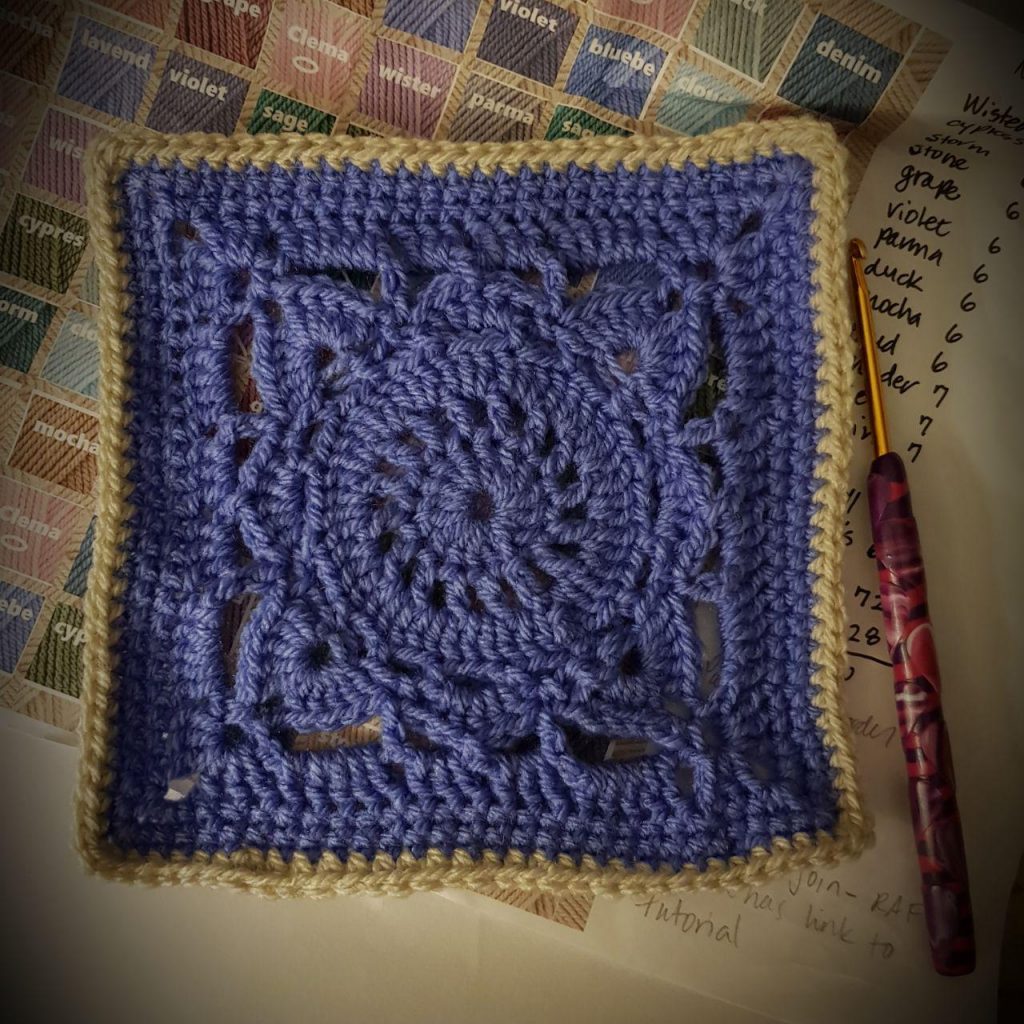
Fairly early on in the project, one of the stitches wasn’t coming out as neatly as I would have liked. In the centre of pink square below, the centre bit with 5 dc/tc – the bottom of that arrangement looks a bit messy. I tried to make the stitch from the previous round those are worked into as tight as I could. The result remained the same.
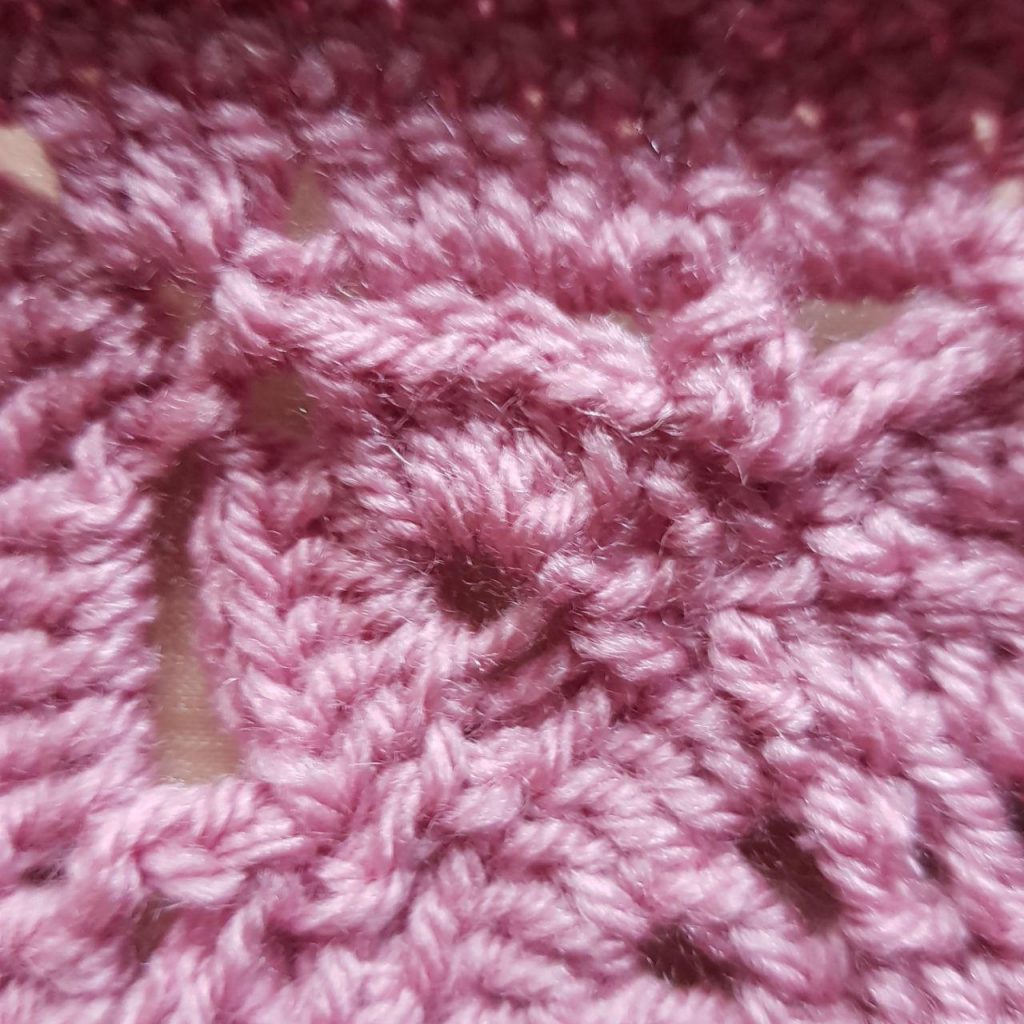
In the lavender square below, I tried a different approach and produced a result I was much happier with.
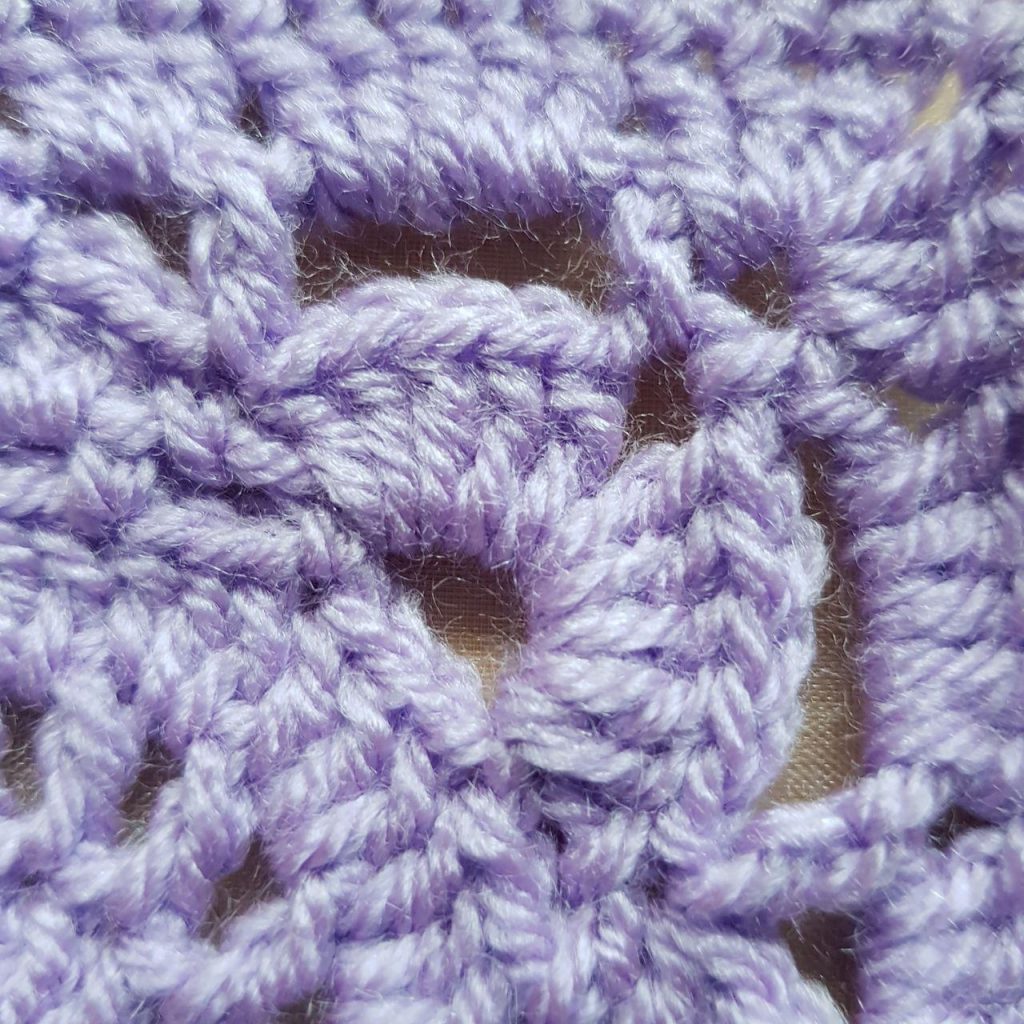
Rather than working those 10 stitches in the centre of the stitch from the row before, I worked them over the bottom of and into the centre of the stitch. The end result is much cleaner and shows off the stitch details beautifully. If I’ve got a tip to offer for making the Willow Square, this would be it.
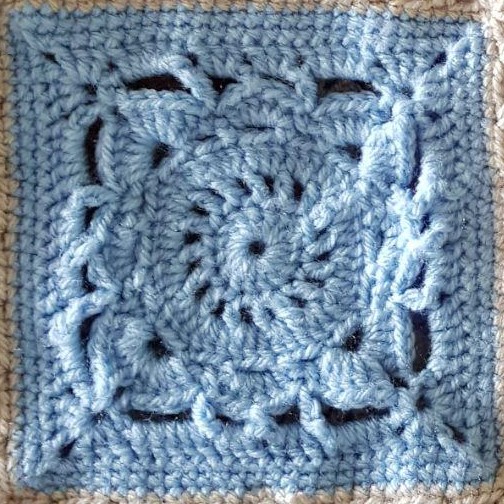
If you’re looking for a portable project, granny squares travels well. Quite a few of the squares were worked during the rugby season…
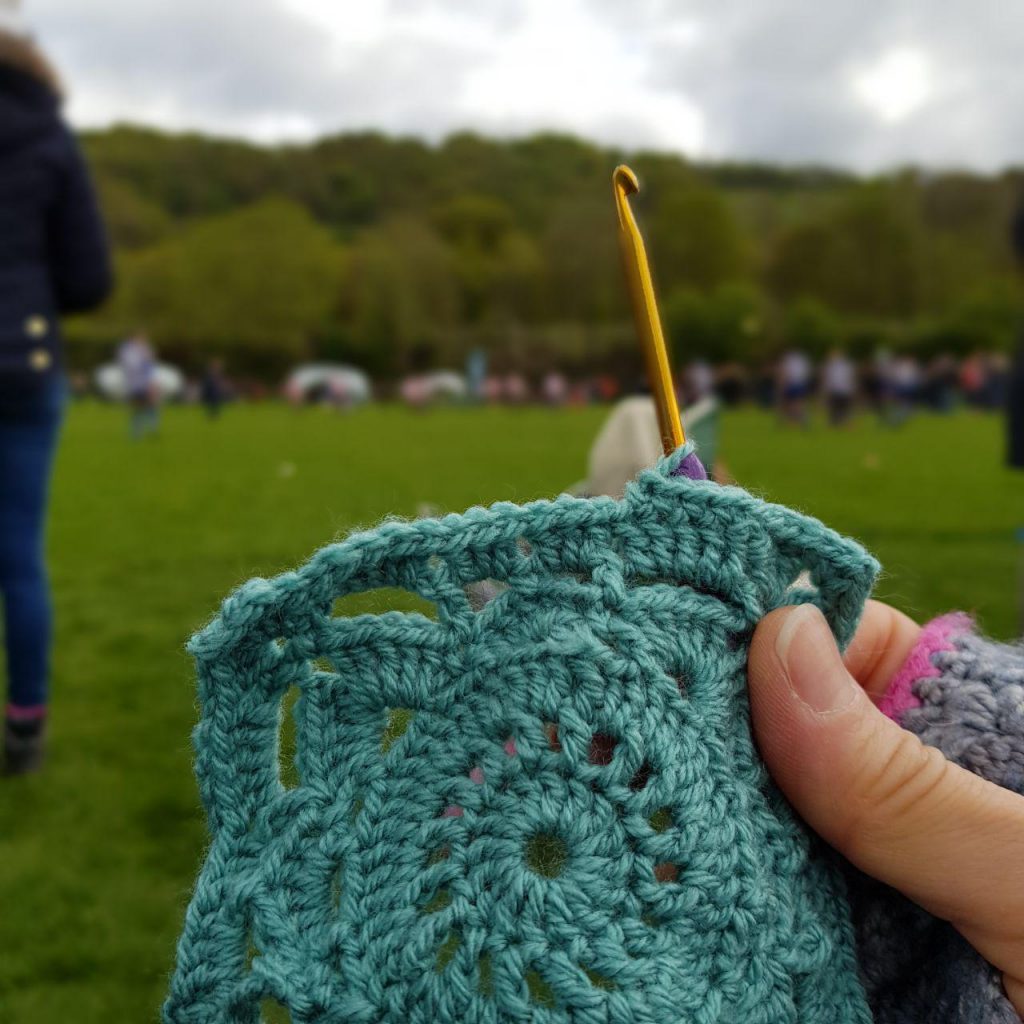
…or on trains, appointments, swimming lessons or watching TV.
As I got closer to finishing all the squares, my mind turned to the joining method and border. After showing Mom some sample borders and joining methods, she chose the uber talented Rachele’s, of Cypress Textiles, Vibrant Vintage Blanket Border and her Celtic Lace join.
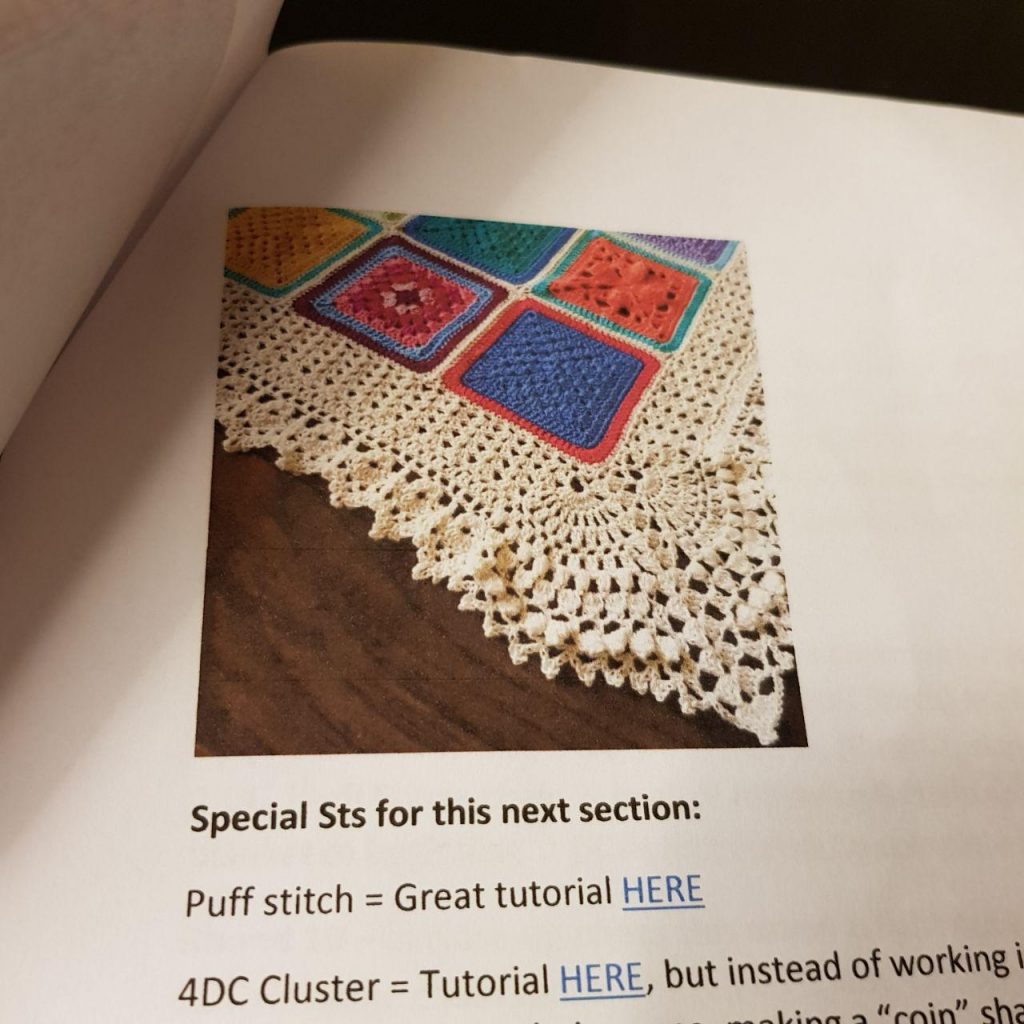
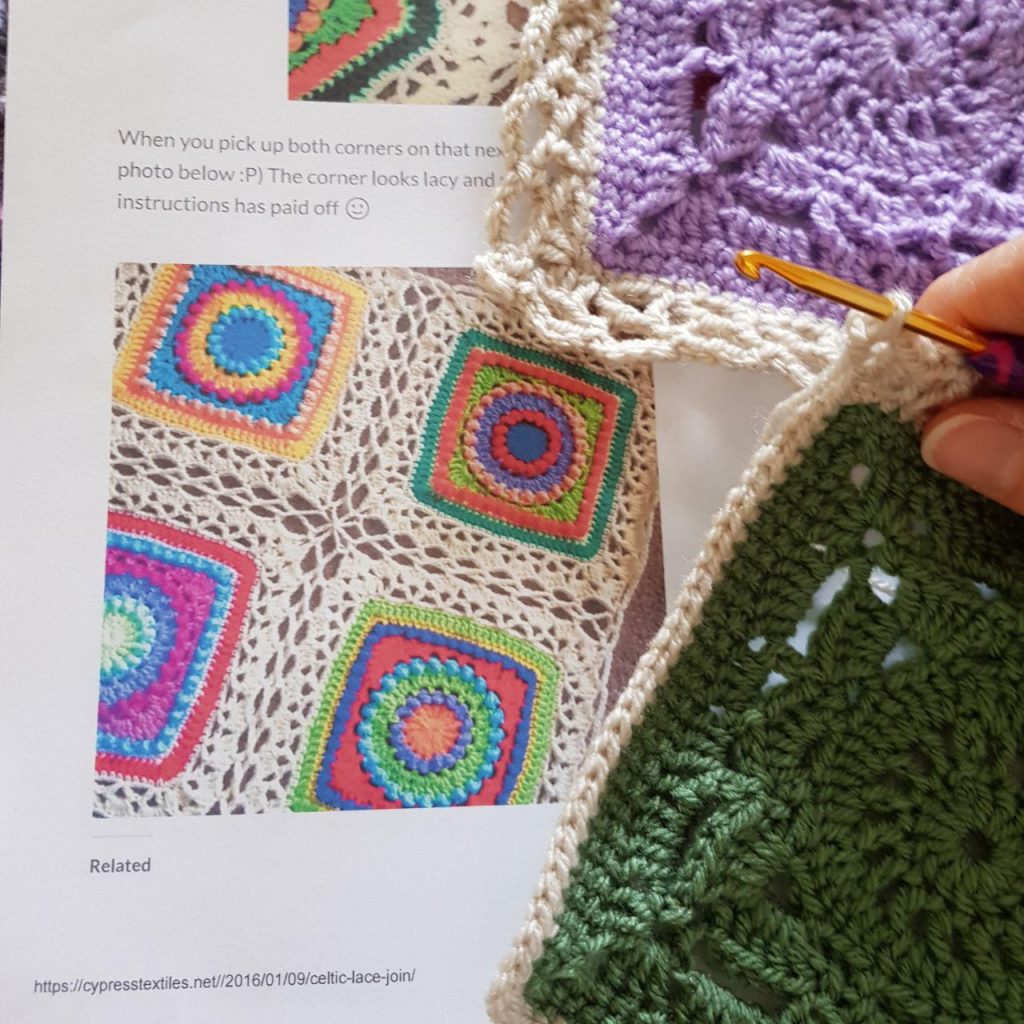
I chose to do a slimmed down version of the Celtic Lace join as I didn’t want the blanket to grow too much. It was already a UK King (US Queen) size.
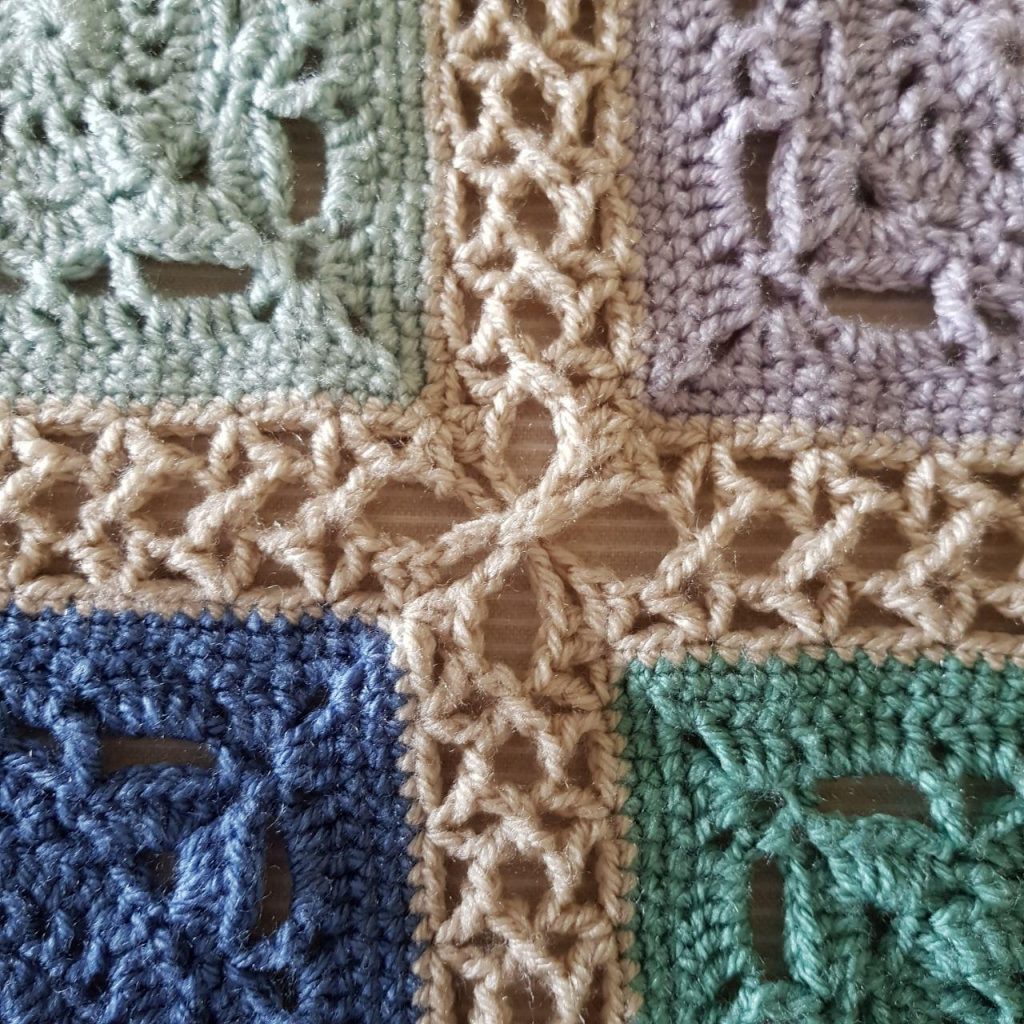
The end result reminds me of a gorgeous antique patchwork quilt I saw in a textile museum some years ago. The fabric squares were joined with open work crochet, similar to the Celtic join I used for this Willow Square blanket. I fell in love and to see it replicated in this piece made my heart sing.
Rachele designed the Vibrant Vintage Border in two colourways – one a solid (which my Mom wanted), and the other with colours from the squares worked in the final rounds of the border. Both are lovely.
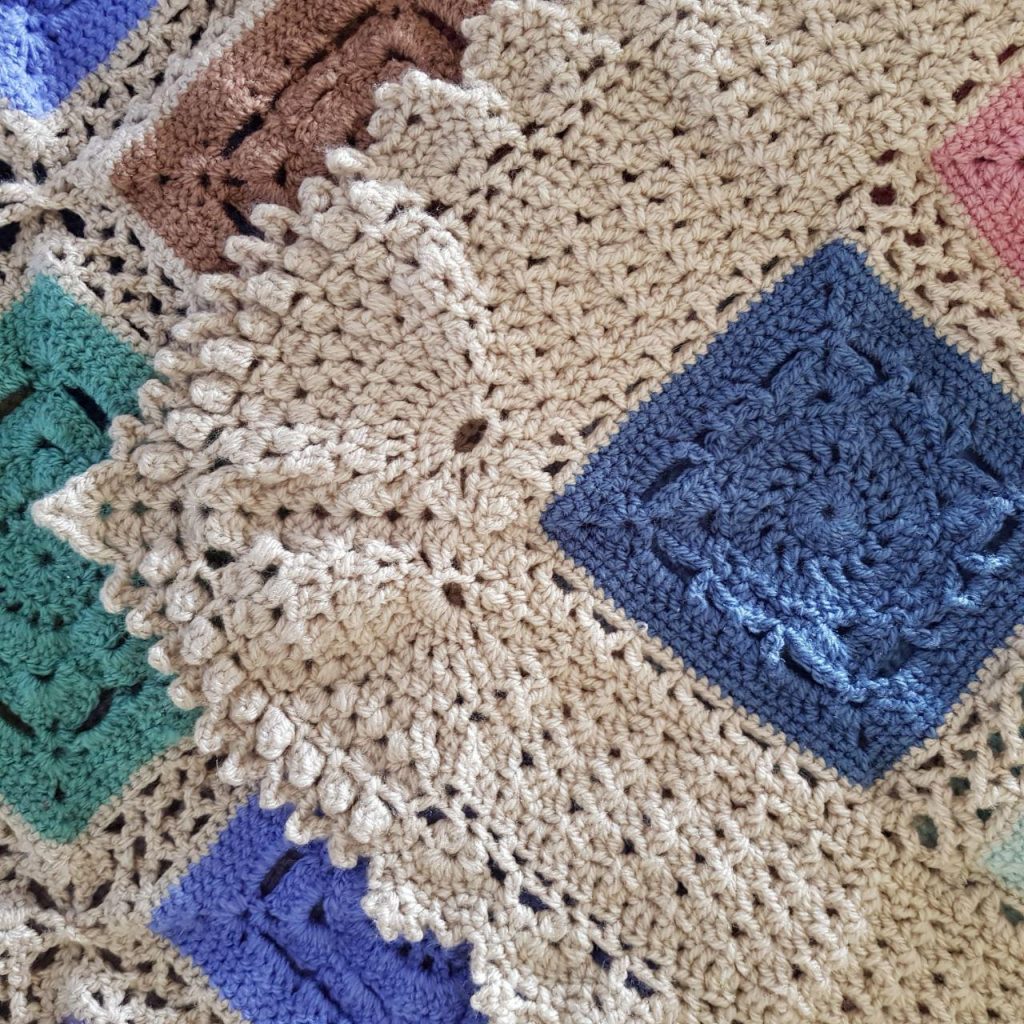
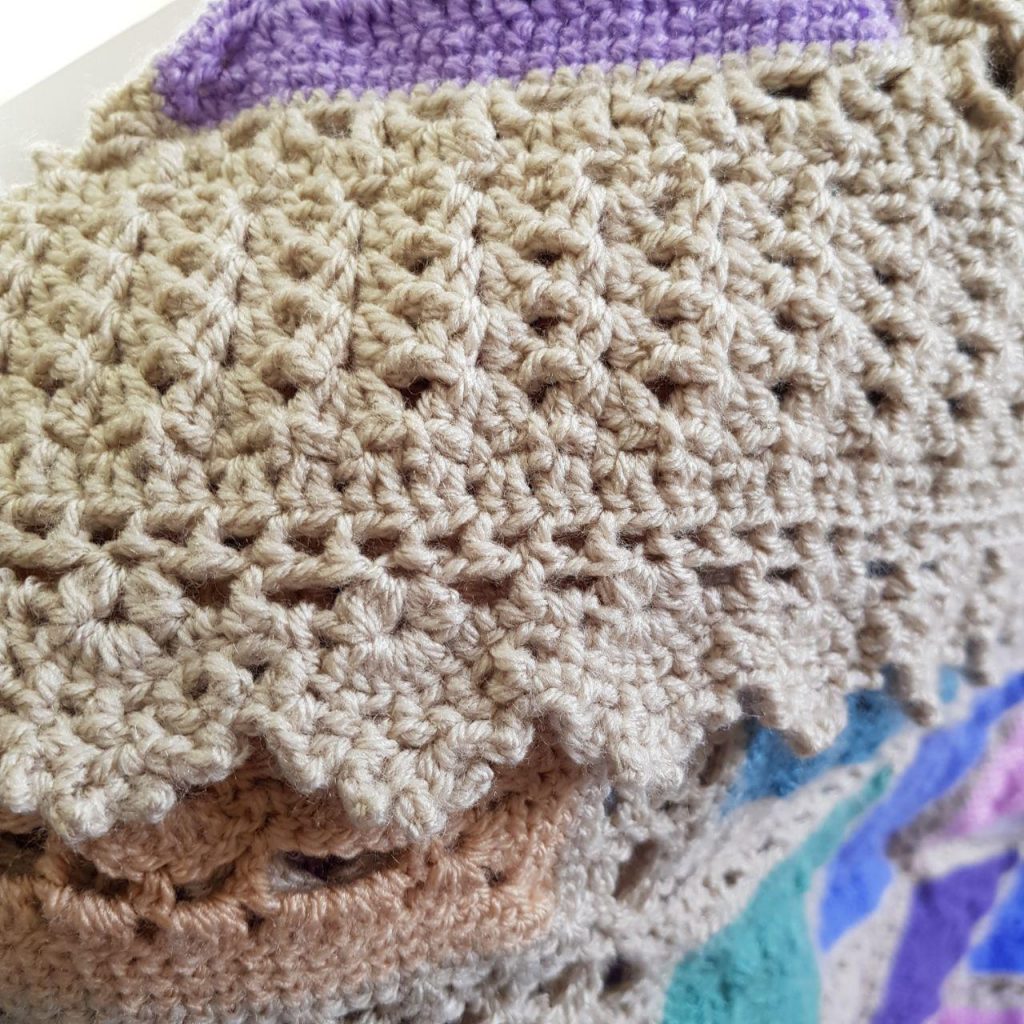
Heather of The Patchwork Heart has written a Willow Square tutorial for the trickier parts. Cypress Textiles‘ patterns for the Vibrant Vintage Border and Celtic Lace join are free on her blog.
My next project is connected to this one. Mom & Dad don’t have a headboard over their bed so I’ll be making them a trio of mandalas using a colour palette based on the blanket. I’ve started my version of the Trinity Mandalas pattern by another talented designer/artist, Esther of It’s All in a Nutshell. I managed to find very close, and sometimes exact, matches to the Stylecraft Special DK yarn used in the Willow Square blanket with Scheepjes Catona mercerised cotton yarns.
Instead of 3 different sized mandalas, I will be working one 20″ and two 12″ pieces. I will post all the details when I’m finished!
If you cannot get Stylecraft or Scheepjes yarns in your neck of the woods, Yarnsub is a brilliant tool for finding similar yarns in other brands. I’ve done the search for you so all you need to do is click on the links to open up new windows for Stylecraft Special DK and/or Scheepjes Catona yarn substitutions.
All for now lovelies. Wishing you all a gloriously colourful, happy yarny day!

Comments are closed, but trackbacks and pingbacks are open.