Howdy Fizzypetalites!
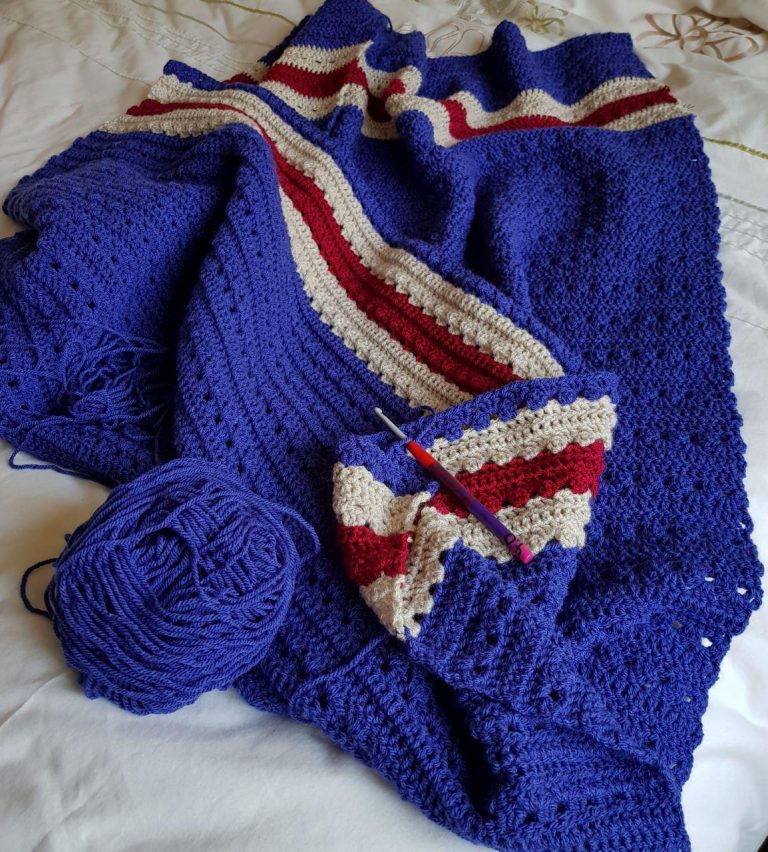
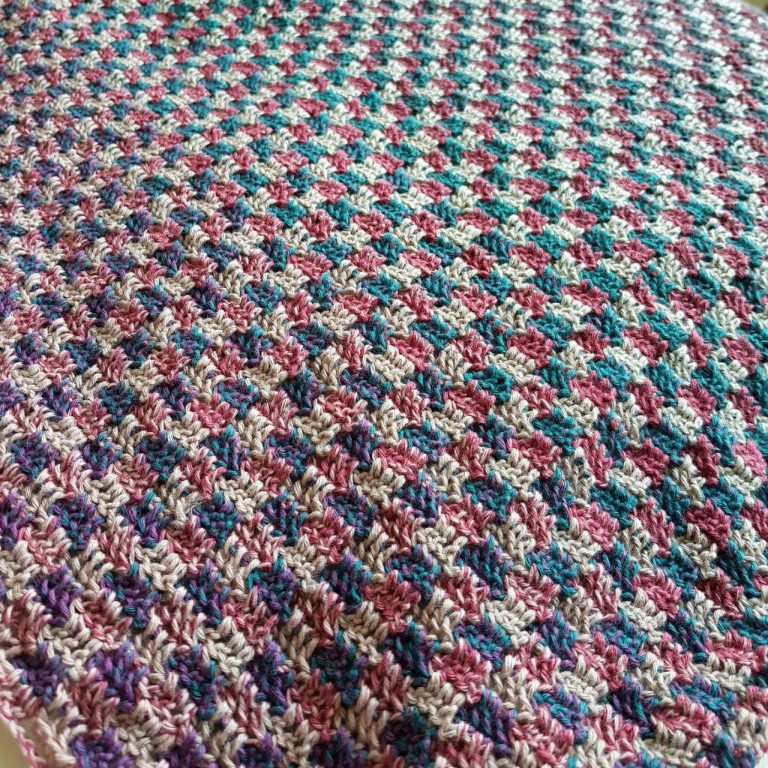
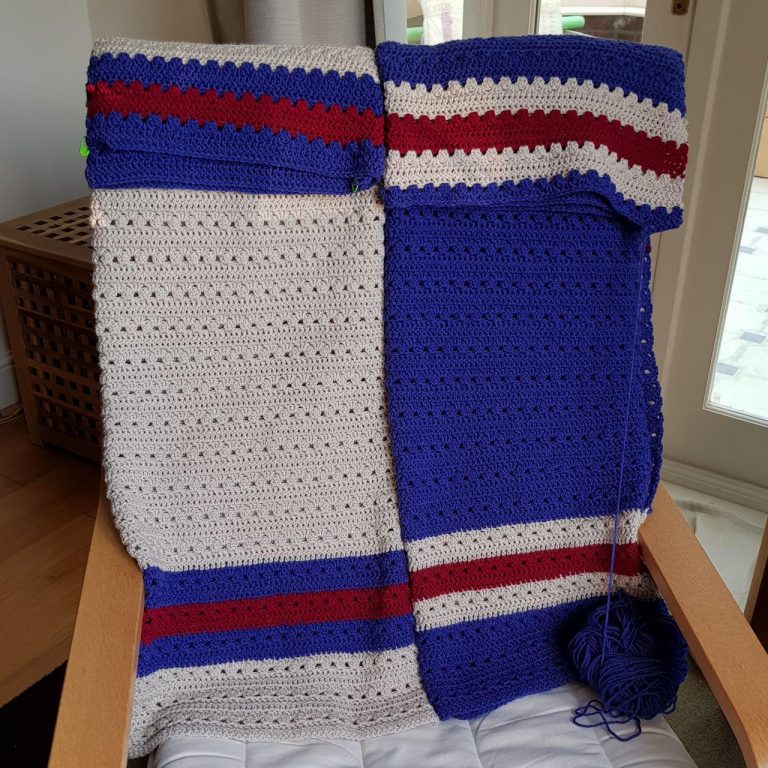
This week I’ve been working on the twin Ranger blankets when at home and on my Trio Blanket when on the road or on my stationary cycle. I love working to new patterns because I often learn techniques that I can use for other projects.
Felted Button’s Trio Blanket uses a stacked stitch at the start of each row instead of a chain 3. (tutorial here) The stacked stitch creates an even edge along the sides of the project.
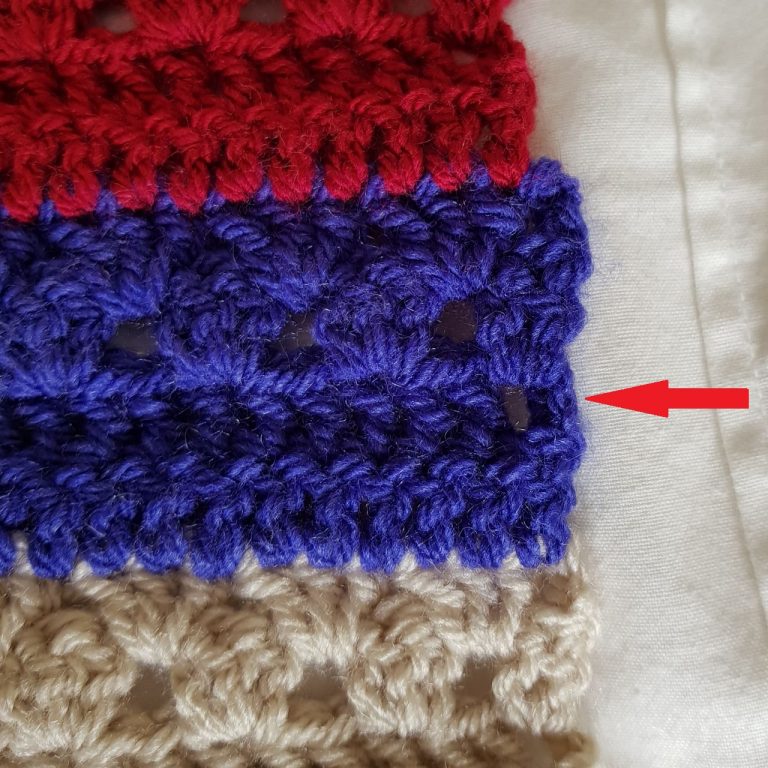
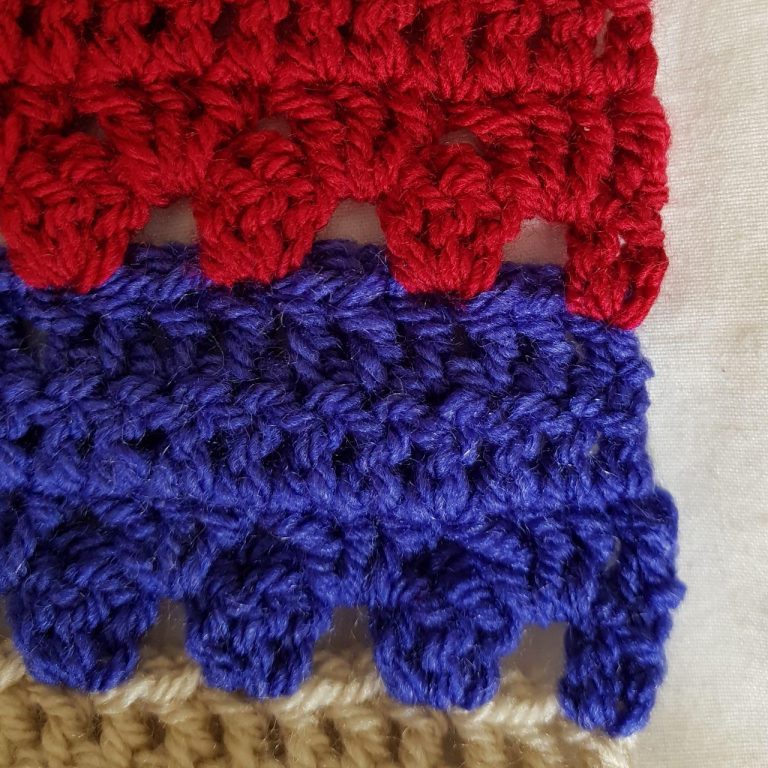
The Stacked Stitch is slightly thicker than the chain 3 so there is no gap between the starting stitch to a new row and the stitch that follows it. The red arrow in this image is pointing at a chain 3 stitch – see the hole in between it and the following stitch?
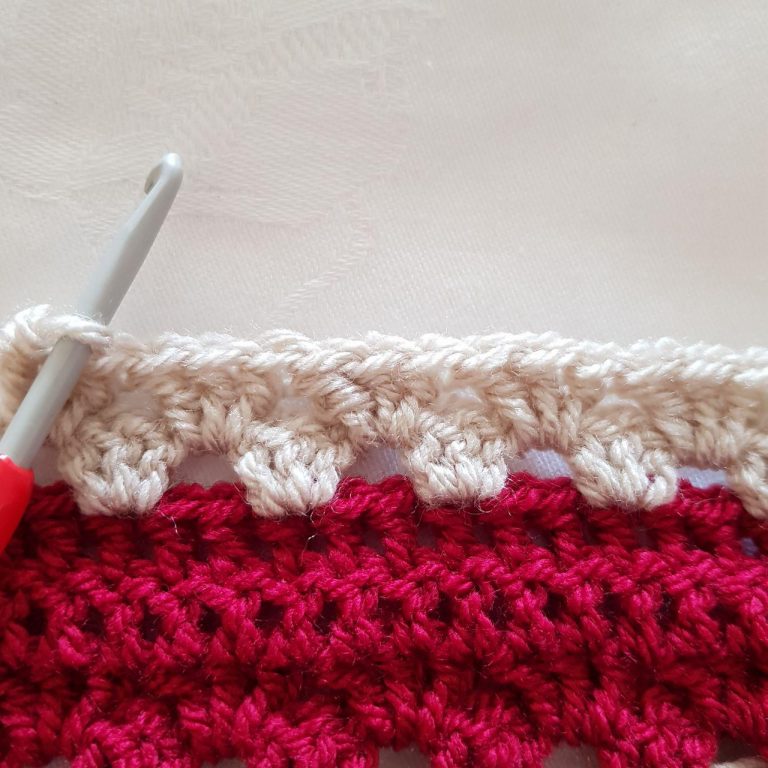
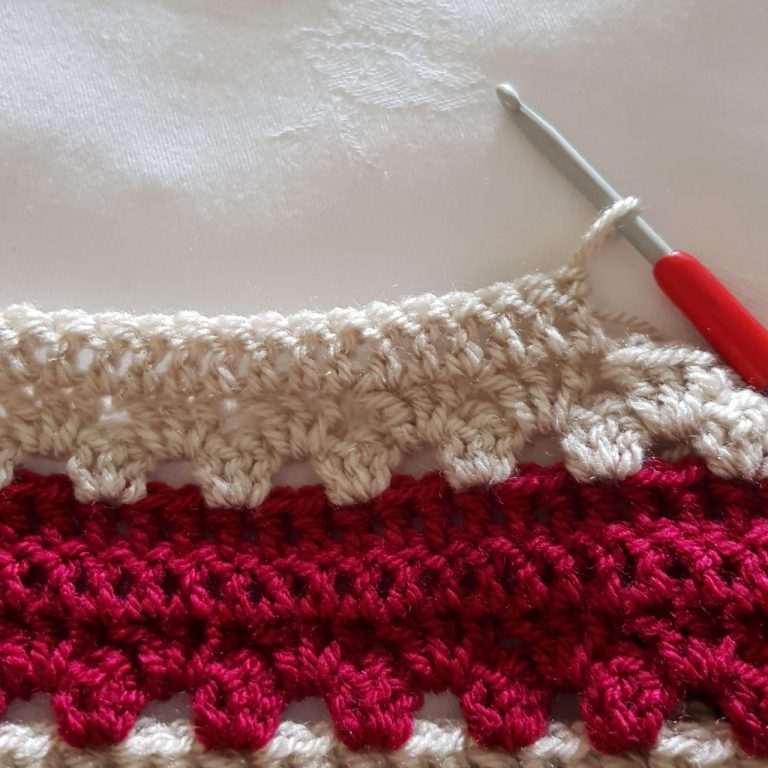
The top of the Stacked Stitch is very easy to slide the hook into, unlike a chain 3 where you may have to fiddle a bit to insert the hook. The stacked stitch in this photo is so subtle I can’t spot it to point it out. As you can see, there are no holes in between stitches.
In the past to avoid the hole or buckle or a chain 3, I’ve either used a shorter chain or I’ve tightened my tension. However, those ‘fixes’ present slightly different issues – especially with the tighter tension.
Another technique I’m employing for the Ranger blankets is the Russian Join. I wish I would have tried this stitch ages ago as it would have saved me a fair bit of time weaving in ends with other projects, especially with the Memory Blankets. Not to mention saving myself the worry of a weaved in end working itself free over time.
The Russian Join is very secure, so much so that it can be quite a task to undo it if you’ve made a mistake and need to frog. The stitch(s) with the join is a little bit thicker but do blend in to the rest of the work. In my view a slightly thicker soft stitch is preferable to a hard knot that may or may not stand the test of time.
Colour changes are fairly easy with the Russian Join. Bella Coco does a wonderful video so you can learn the basics of how to do the join. So far I’ve only done it with DK weight yarn in horizontal rows so I don’t yet know how easy it is to do with lighter weights or in rounds.
For the Russian Join you will need a fine needle with an eye that is just large enough to pass the yarn through – I work the eye back and forth over the end of the yarn against my until it all passes through the eye. It takes a minute but is worth the effort.
~~~~~~~~~~~~~~~~~~~~~~~~~~~~~~~~~~~~~~~~~~~~~~~~~~~~~~~
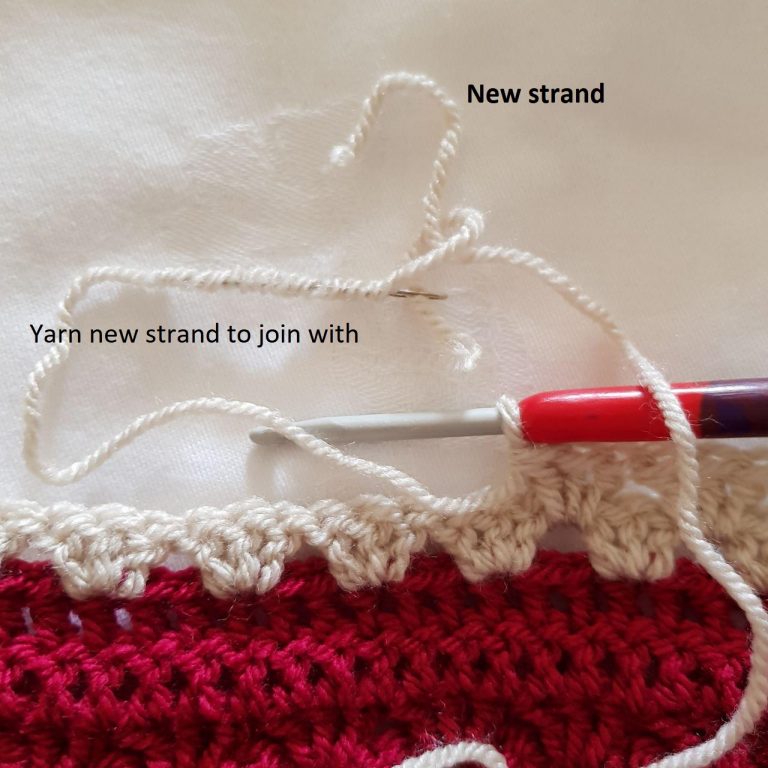
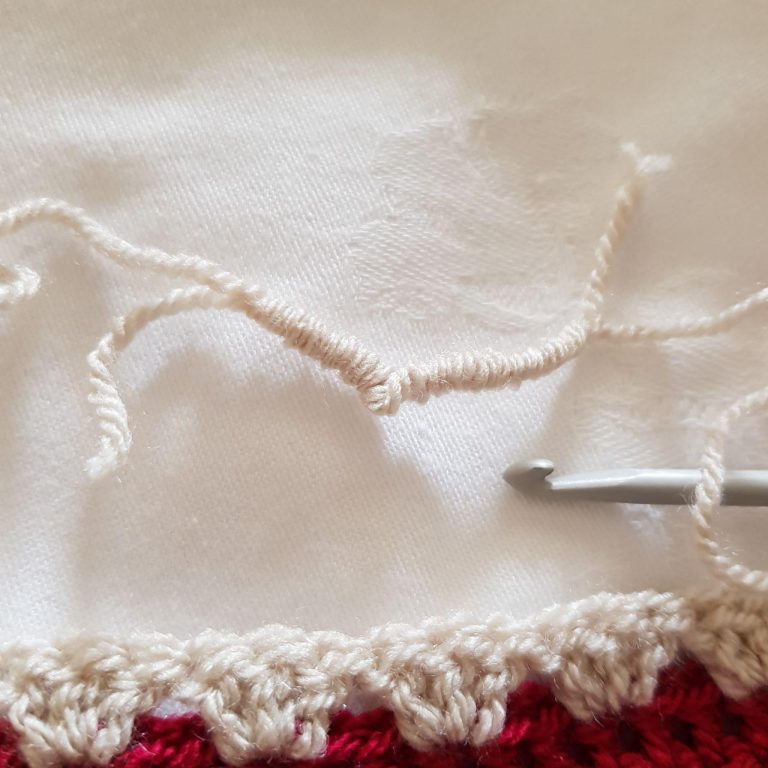
To join in new balls of the same colour…insert the needle about an inch to an inch and a half from the end of the strand – the eye should be facing the direction of the yarn end.
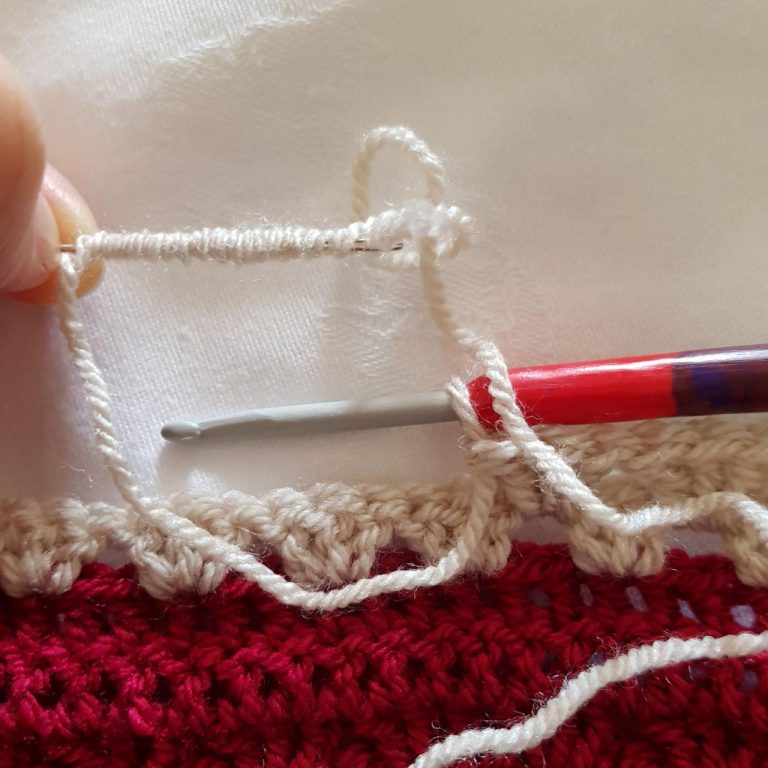
In the image, you should be able to see my where I’ve inserted my needle down the centre of the yarn that I was working with. Push the needle through the centre of the strand until you have a good bunch gathered on the needle. Thread the tail end of the strand through the eye of the needle leaving it loose so there is a loop. Take the end of the new yarn to be joined to the old and insert it through the loop of yarn attached to the eye of the needle.
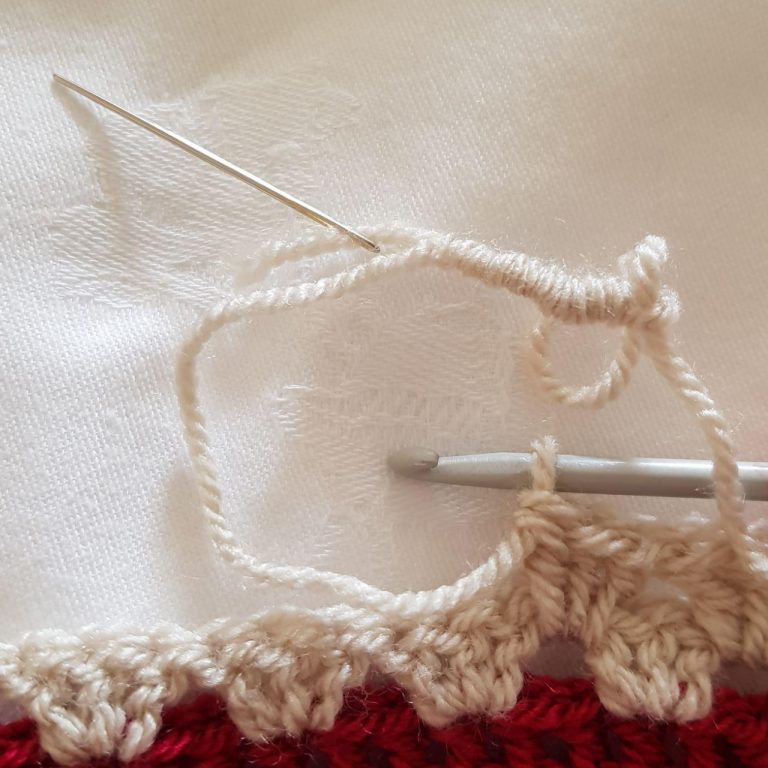
Holding onto the new yarn and the loop with one hand (I’m right-handed so I used my right hand), use your other hand to pull the needle completely through the bunched up yarn. You’ll be bringing the tail through the centre that your needle was inserted into. Allow the loop to tighten around the new yarn strand you are joining to.
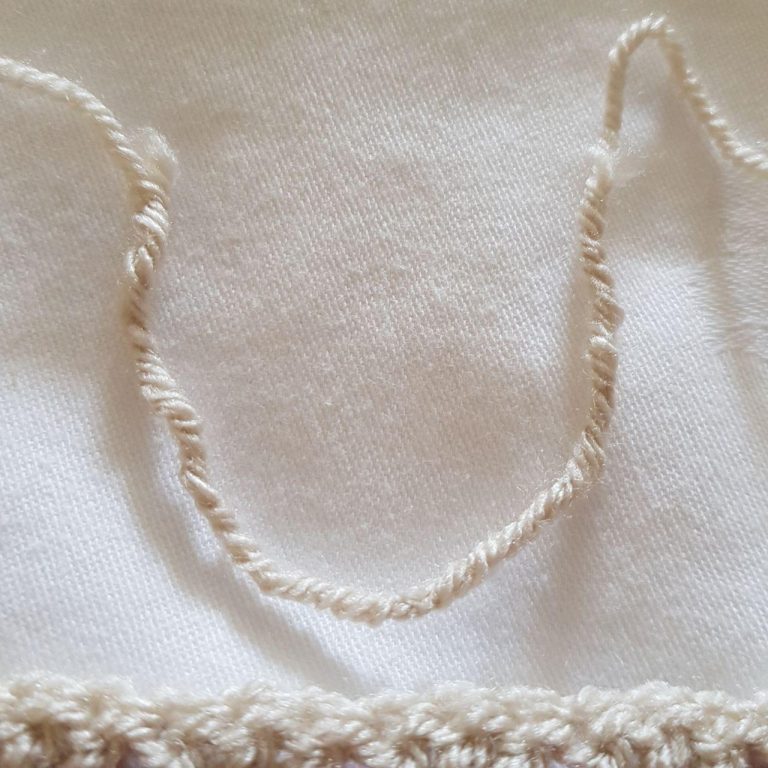
Repeat the process with the new yarn strand. 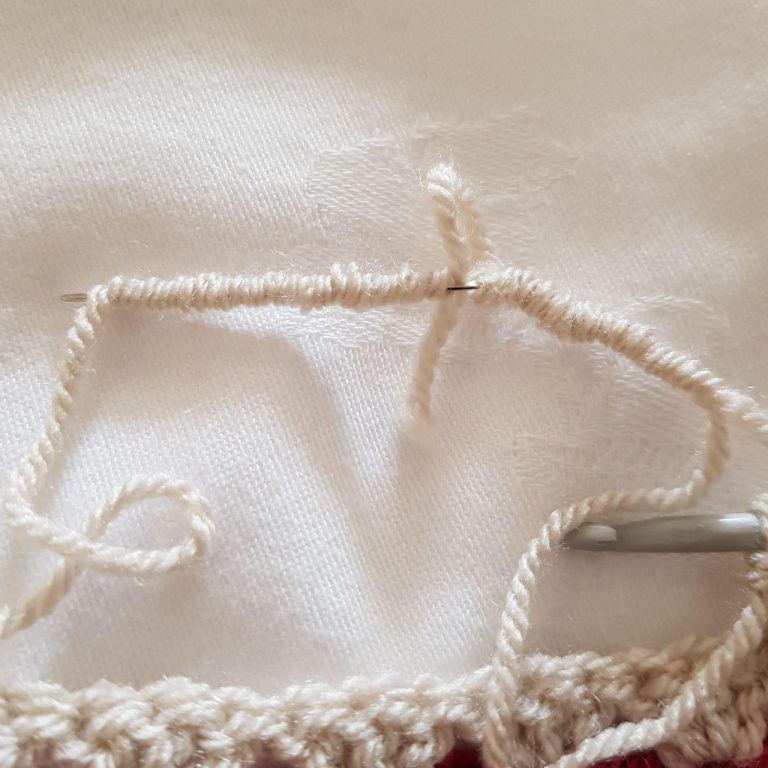
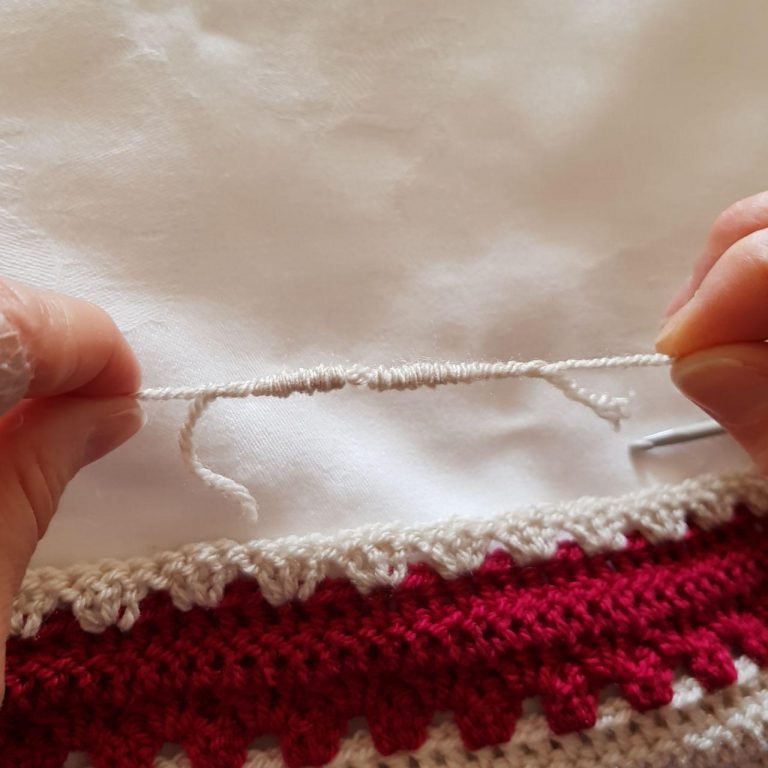
Taking hold of the strands from your work and the new ball of yarn and give them a firm tug. This will pull the bunched up yarn over the tails.
When you work your stitches, the join is only noticeable if you know where to look. Any excess tail left over from the join can be trimmed.
~~~~~~~~~~~~~~~~~~~~~~~~~~~~~~~~~~~~~~~~~~~~~~~~~~~~~~~
Changing colours is not as difficult as one might think with the Russian Join. I’ve found a way that works for me.
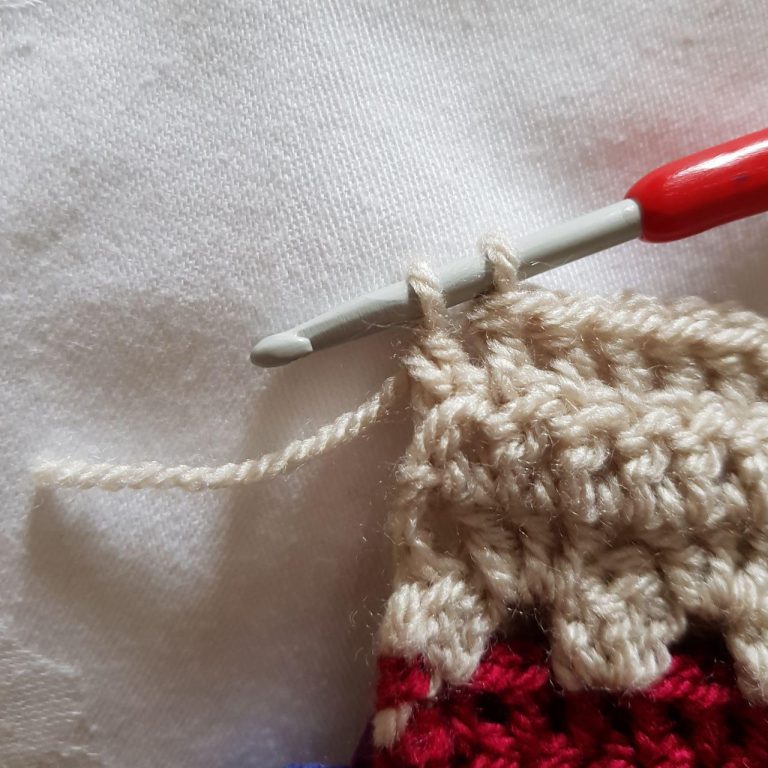
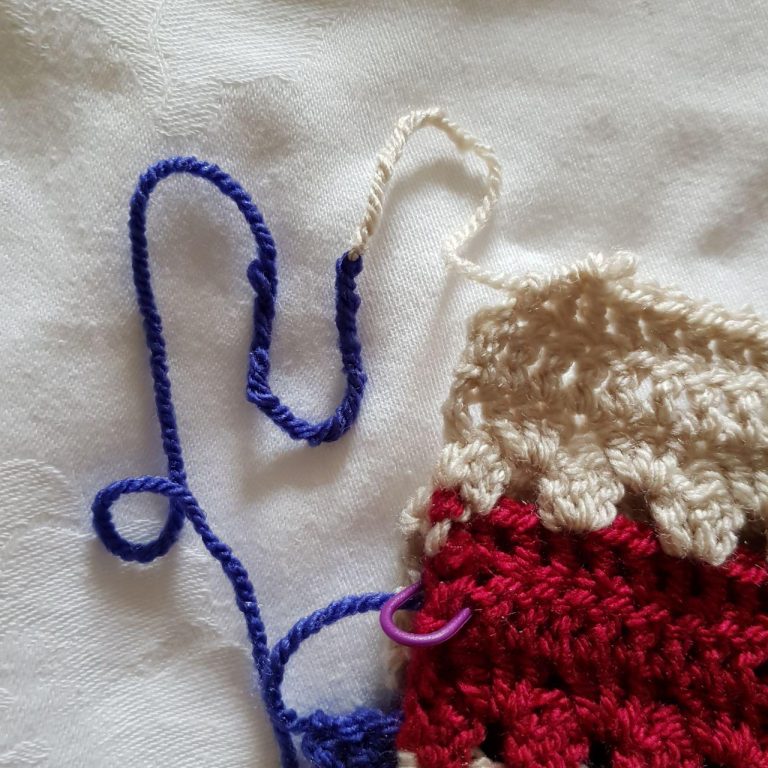
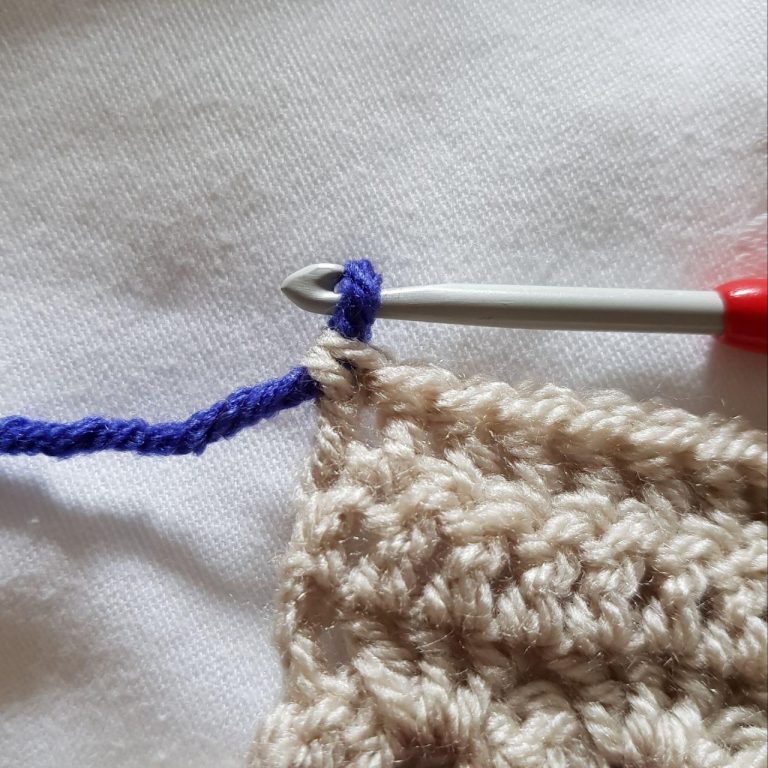
Just before you finish your stitch, leave your hook in place and cut the old yarn leaving about an inch or so of a tail.
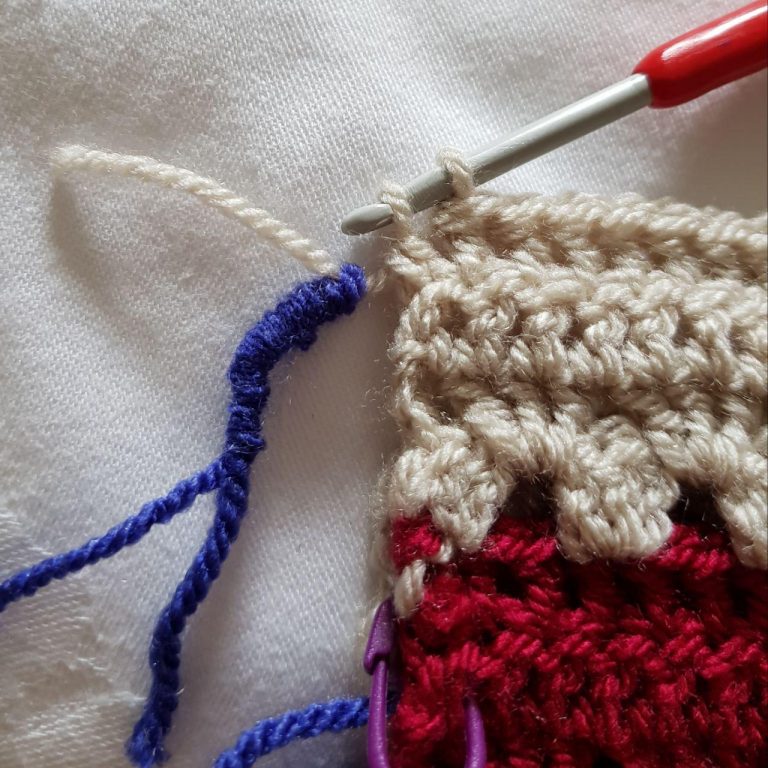
With the new colour, create the first part of the join. Thread the old colour through the loop you’ve created with the new colour leaving a small space between the loop and the stitch. Pull the needle through – if your loop moved, adjust the position where the new colour joins with the old so that you have that small gap of old colour.
Frog a couple stitches of the old colour so you have a little length to work with. Create the second half of the join.
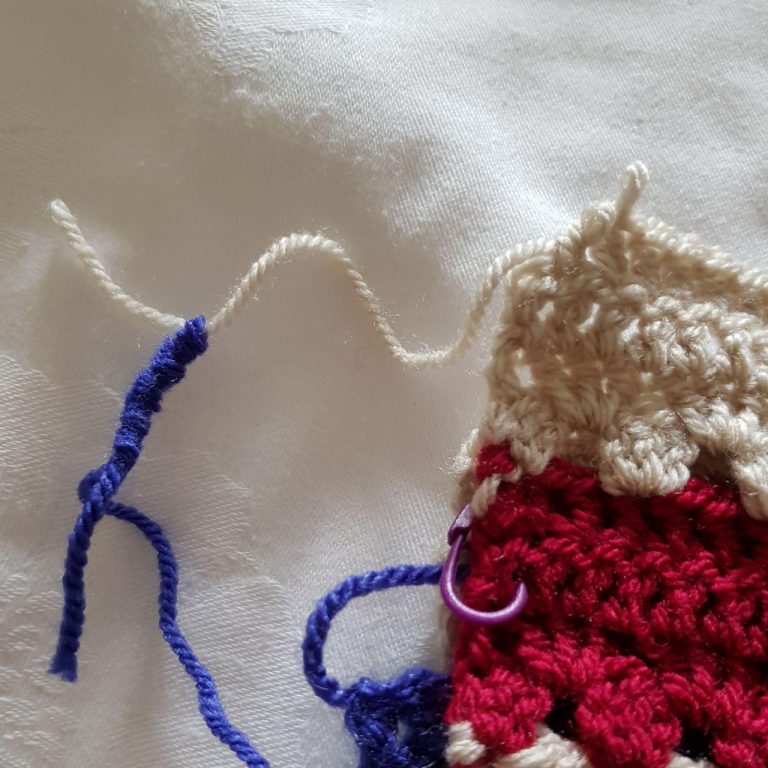
Give the new and old colour strands a firm tug to finish the join.
Rework your stitches.
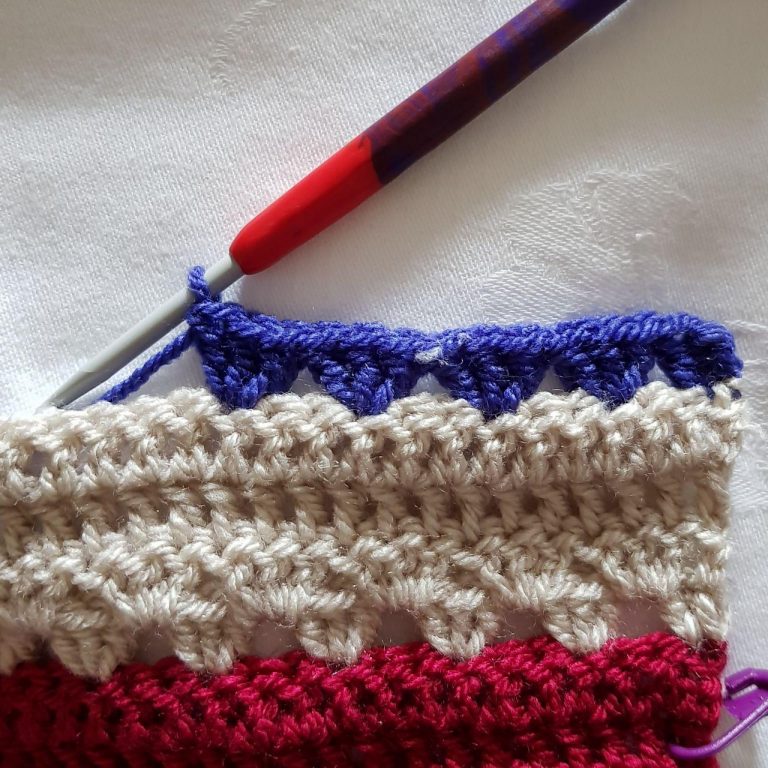
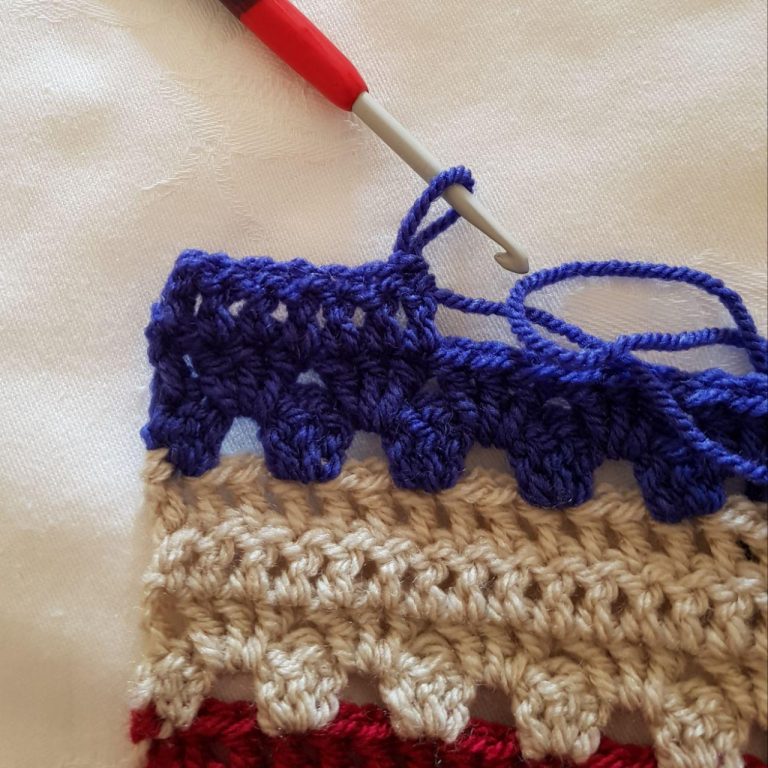
A virtually seamless transition with no yarn ends to darn in later. I love this join!
One thing to remember is the harder you tug at the join, the more the yarn may stretch and thin. This might create a less thick stitch, however it will also change the place in your colour change happens.
If your colour change place moved because the yarn is stretched too far, frog several stitches and work again keeping your tension looser. Keeping your tension looser will use more yarn and move the colour change into the correct place. You may need to redo a couple of times until you’ve got it.
Conversely, if the colour change is happening too soon, frog a few stitches and tug on the join to try and stretch the yarn a bit. If the yarn doesn’t stretch or it was stretched as far as it could be, frog again and redo the stitches increasing your tension. Tighter tension uses less yarn and should move that join into the correct spot.
Corrections every now and again shouldn’t impact on the final look of your project. I haven’t tried this in the round or with lighter weights so I do not know how well the join works in those situations. When I do, I will share my experience.
That is all for today. I’m on the home stretch with the ‘canvas’ of the Ranger Blankets. On to lettering next…slightly nervous about those because I’ve never done letters before. It is a challenge I’m looking forward to.
Have a beautiful, colourful yarny day!

Comments are closed, but trackbacks and pingbacks are open.